Blogging has been such a healthy part of my life for the last few years. When I started my little sewing blog, I never dreamed of the wonderful places it would take me, I never imagined the opportunities that would come my way and I never thought I would meet so many amazing people.
Blogging has been such a fun adventure for me and I really want you to join in on the fun.
When BurdaStyle asked me to do another web seminar, I thought this would be the perfect time to share what I have learned along the way with you.
I hope you can join us on Thursday, June 5th at 11:00 am (EST) for
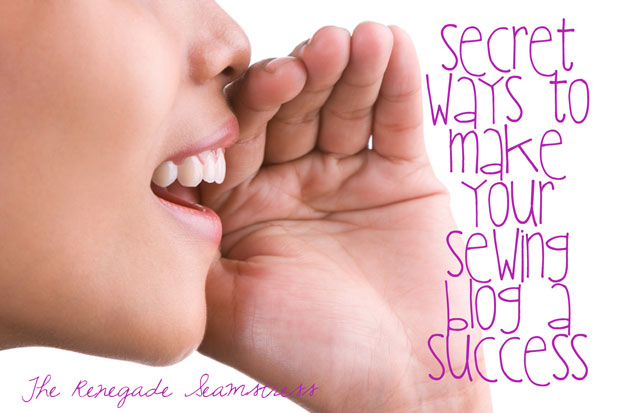
Secret Ways to Make Your Sewing Blog a Success
You will learn:
How to determine who you want to be in the blogging community
How to develop friendly alliances with those who can help you grow your blog
Ways to attract readers to your blog
Ways to manage your time
How to improve your photography
Ways to manage your time
How to develop your creative vision
About self promotion and networking
Ways to increase traffic to your blog
How to develop new career opportunities using your blog
Ways to make money from your blog
Sign up here if you’d like to get the tools to create and carry out your own unique vision for a successful sewing blog or if you want to learn how to develop a blog that inspires and keeps people coming back for more.
Hope to see you there!
Beth
PS. If you aren’t able to make it for the live version, you can still sign up and you’ll have access to the recorded version of the seminar.